


























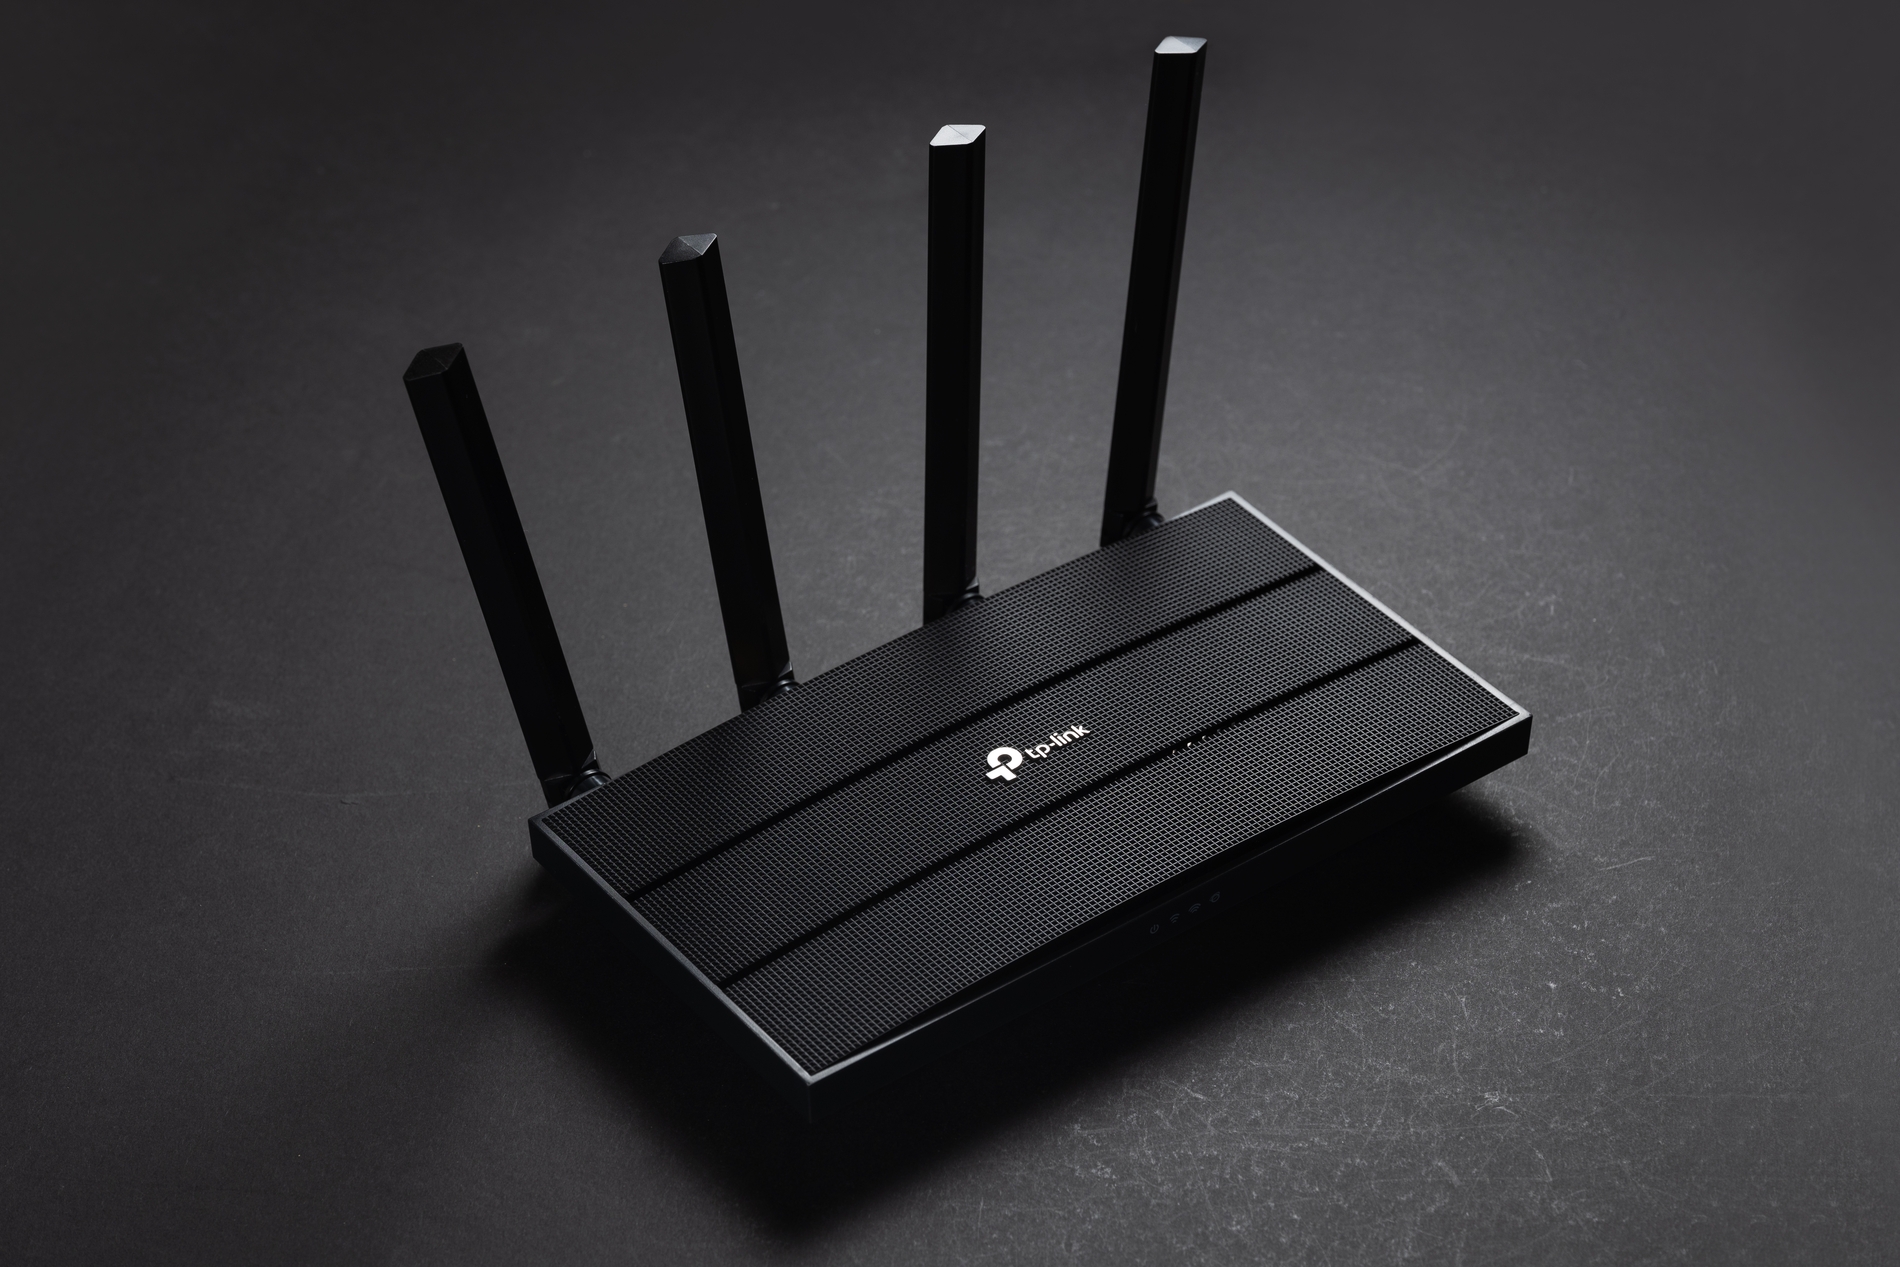
Credit: Shutterstock
Don’t buy a new extender because that spare TP-Link router collecting dust in your drawer might be all you need to enrich the Wi-Fi dead zones in your home or office.
This guide will walk you through repurposing a spare TP-Link router as a Wi-Fi repeater, step by step.
What Is a Wi-Fi Repeater?
A Wi-Fi repeater is like a smaller station in the middle of your house that picks up the signal from the main router and rebroadcasts it farther, filling in the spots the main router can’t reach.
Note: We are only covering the wireless method in this guide. (The wired method, where you connect two routers with an Ethernet cable, is technically called an extender or access point, and is a different setup.)
Step 1 – Check If Your Router Supports Repeater Mode
Not every TP-Link router supports wireless repeater mode. This is the most important thing to verify before you do anything else.
Method A – Search Google (Easiest Way)
- Find the model number of your spare TP-Link router. You’ll find it printed on the label on the bottom of the router (e.g., TL-WR940N, Archer C20, TL-WR841N).
- Open Google and type: “[your model number] repeater mode” or “[your model number] WDS.” Look for official TP-Link support pages or user guides confirming the feature is available.
Method B – Check TP-Link’s Official Product Page
- Go to tp-link.com and search for your router’s model number.
- Open the product’s Datasheet or Specifications tab.
- Look for the words “Repeater Mode”, “Range Extender Mode”, or “WDS” in the feature list.
Method C – Log Into the Router and Look
- Power your spare router and connect your computer to its Wi-Fi, then open your browser and visit http://tplinkwifi.net or type 192.168.1.1 in the address bar.
- Log in using the username and password printed on the bottom of the router (usually both are admin).
- Look for an Operation Mode setting or a WDS Bridging option under the Wireless settings. If either exists, your router supports repeater functionality.
Step 2 – What You Will Need Before Starting
| What You Need | Details |
| Your main (primary) router | Already set up and working with the internet |
| Your spare TP-Link router | Factory reset recommended (see below) |
| A laptop or desktop computer | To log into the spare router’s settings |
| Your main Wi-Fi network name (SSID) | The name of your existing Wi-Fi network |
| Your main Wi-Fi password | You’ll need to enter this during setup |
| 5–10 minutes of your time | That’s all it takes once you’re ready! |
How to Factory Reset Your Spare Router First
To do this:
- With the router powered on, find the Reset button (usually a small pinhole on the back or bottom).
- Hold it down for 8–10 seconds using a paperclip or pin until the lights flash and the router restarts.
- Wait about 60 seconds for the router to fully boot back up.
Step 3 – Setting Up the Repeater (Two Methods)
Depending on which TP-Link router model you have, the setup process will look slightly different. Choose the method that matches your router’s interface below.
| Your Router Type | Use This Method |
| Newer Archer routers with a clean, modern interface (e.g., Archer A54, Archer C6, Archer C20 V1) | Method A — Range Extender Mode |
| Older TL-WR series or Archer routers with a classic dark green/blue interface | Method B — WDS (Wireless Distribution System) |
Method A – Range Extender Mode
This is the simplest method. Some newer TP-Link Archer routers include a dedicated Range Extender Mode in their settings menu, which makes the whole process very easy.
Phase 1 – Connect Your Computer to the Spare Router
- Power on your spare TP-Link router and wait about 60 seconds for it to fully start up.
- On your computer, connect to the spare router’s Wi-Fi network. The default network name (SSID) and password are printed on the label on the bottom of the router.
Phase 2 – Log Into the Spare Router’s Management Page
- Open any web browser (Chrome, Firefox, Edge, Safari) on your computer.
- In the address bar at the top, type http://tplinkwifi.net and press Enter. If that doesn’t work, try typing 192.168.1.1.
- You will see a login page. Enter the username and password. If you haven’t changed these, the default for both is usually admin. (Some newer models may ask you to create a new password on first login.)
Phase 3 – Switch to Range Extender Mode
- Once logged in, look for Operation Mode. On some routers, you may find this by clicking the three-line menu icon or under Advanced
- Select Range Extender from the list of available operation modes.
- Click Save. The router will reboot, so wait about 60 seconds.
Phase 4 – Connect to Your Main Network
- After the reboot, log back in to the management page using the same address.
- You will be presented with a setup page. Click Scan to see a list of available Wi-Fi networks.
- Find your main router’s network name (SSID) from the list and click Connect.
- Enter your main Wi-Fi password in the Wireless Password field, then click Next.
- On the Network Settings screen, leave the LAN Type set to Smart IP (DHCP) unless you have a specific reason to change it, then click Next.
- Review the summary and click Finish. The router will reboot one final time.
You’re Done with Method A!
Your extended network will now share the same Wi-Fi name (SSID) and password as your main network. Your devices will connect to whichever signal is stronger automatically.
Method B – WDS for Older Routers
This method is for older TP-Link routers that do not have a dedicated Range Extender Mode button.
Phase 1 – Connect and Log In
- Power on the spare router and connect your computer to it via Wi-Fi.
- Open your browser and go to http://tplinkwifi.net, or enter 192.168.1.1 in the address bar.
- Log in with the username admin and password admin (or use the credentials on the bottom label).
Phase 2 – Change the LAN IP Address
- Go to Network → LAN.
- In the IP Address field, change the address so it’s in the same range as your main router but different. For example:
- If your main router’s IP is 192.168.0.1, set your spare router to 192.168.0.2
- If your main router’s IP is 192.168.1.1, set your spare router to 192.168.1.2
- Click Save. The router will reboot. Log back in using the new IP address you just set.
Phase 3 – Disable the DHCP Server
- Go to DHCP → DHCP Settings.
- Set the DHCP Server option to Disable.
- Click Save.
Phase 4 – Enable WDS Bridging
- On routers with a new-style interface, go to: Advanced → System Tools → System Parameters, then find the 4GHz Wireless section and tick Enable WDS Bridging.
- On routers with an older-style interface, go to: Wireless → Wireless Settings, then check the box labeled Enable WDS Bridging or Enable WDS.
- Once WDS is enabled, click Survey (or Search on some models). A list of nearby Wi-Fi networks will appear.
- Find your main router’s network name (SSID) in the list and click Connect. The SSID and BSSID (which is the MAC address of your main router) will be filled in automatically.
- Enter your main router’s Wi-Fi password in the Wireless Password
- Make sure the Channel is set to the same channel as your main router. (You can find your main router’s channel in its own wireless settings page.)
- Click Save.
Phase 5 – Secure the Spare Router’s Wireless Network
- Go to Wireless → Wireless Security.
- Select WPA/WPA2 – Personal as the security type and set a password for the spare router’s own local Wi-Fi signal. (This can be different from your main router’s password.)
- Click Save.
Phase 6 – Reboot and Verify
- Go to System Tools → Reboot and reboot the spare router.
- Once it restarts, connect your phone or laptop to the spare router’s Wi-Fi and check that you have internet access.
You’re Done with Method B!
Your spare router is now wirelessly extending your main router’s network using WDS. Devices connected to it will share the same internet connection.
Step 4 – Where to Place Your Repeater
If you put the repeater in the wrong spot, it won’t work well, no matter how perfectly you’ve configured it.
- Place it halfway between your main router and the Wi-Fi dead zone
- Keep it in an open space, not inside a cabinet or closet
- Make sure it can still receive a decent signal from the main router
- Elevate it if possible on a shelf or desk
- Keep it away from microwaves and cordless phones
A good rule of thumb is to place the repeater in the last room where your main router’s signal is still strong.