


Credit: Shutterstock
For less than $80, you can convert your simple TV into a smart one with YouTube and other apps working.
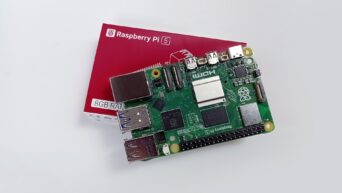
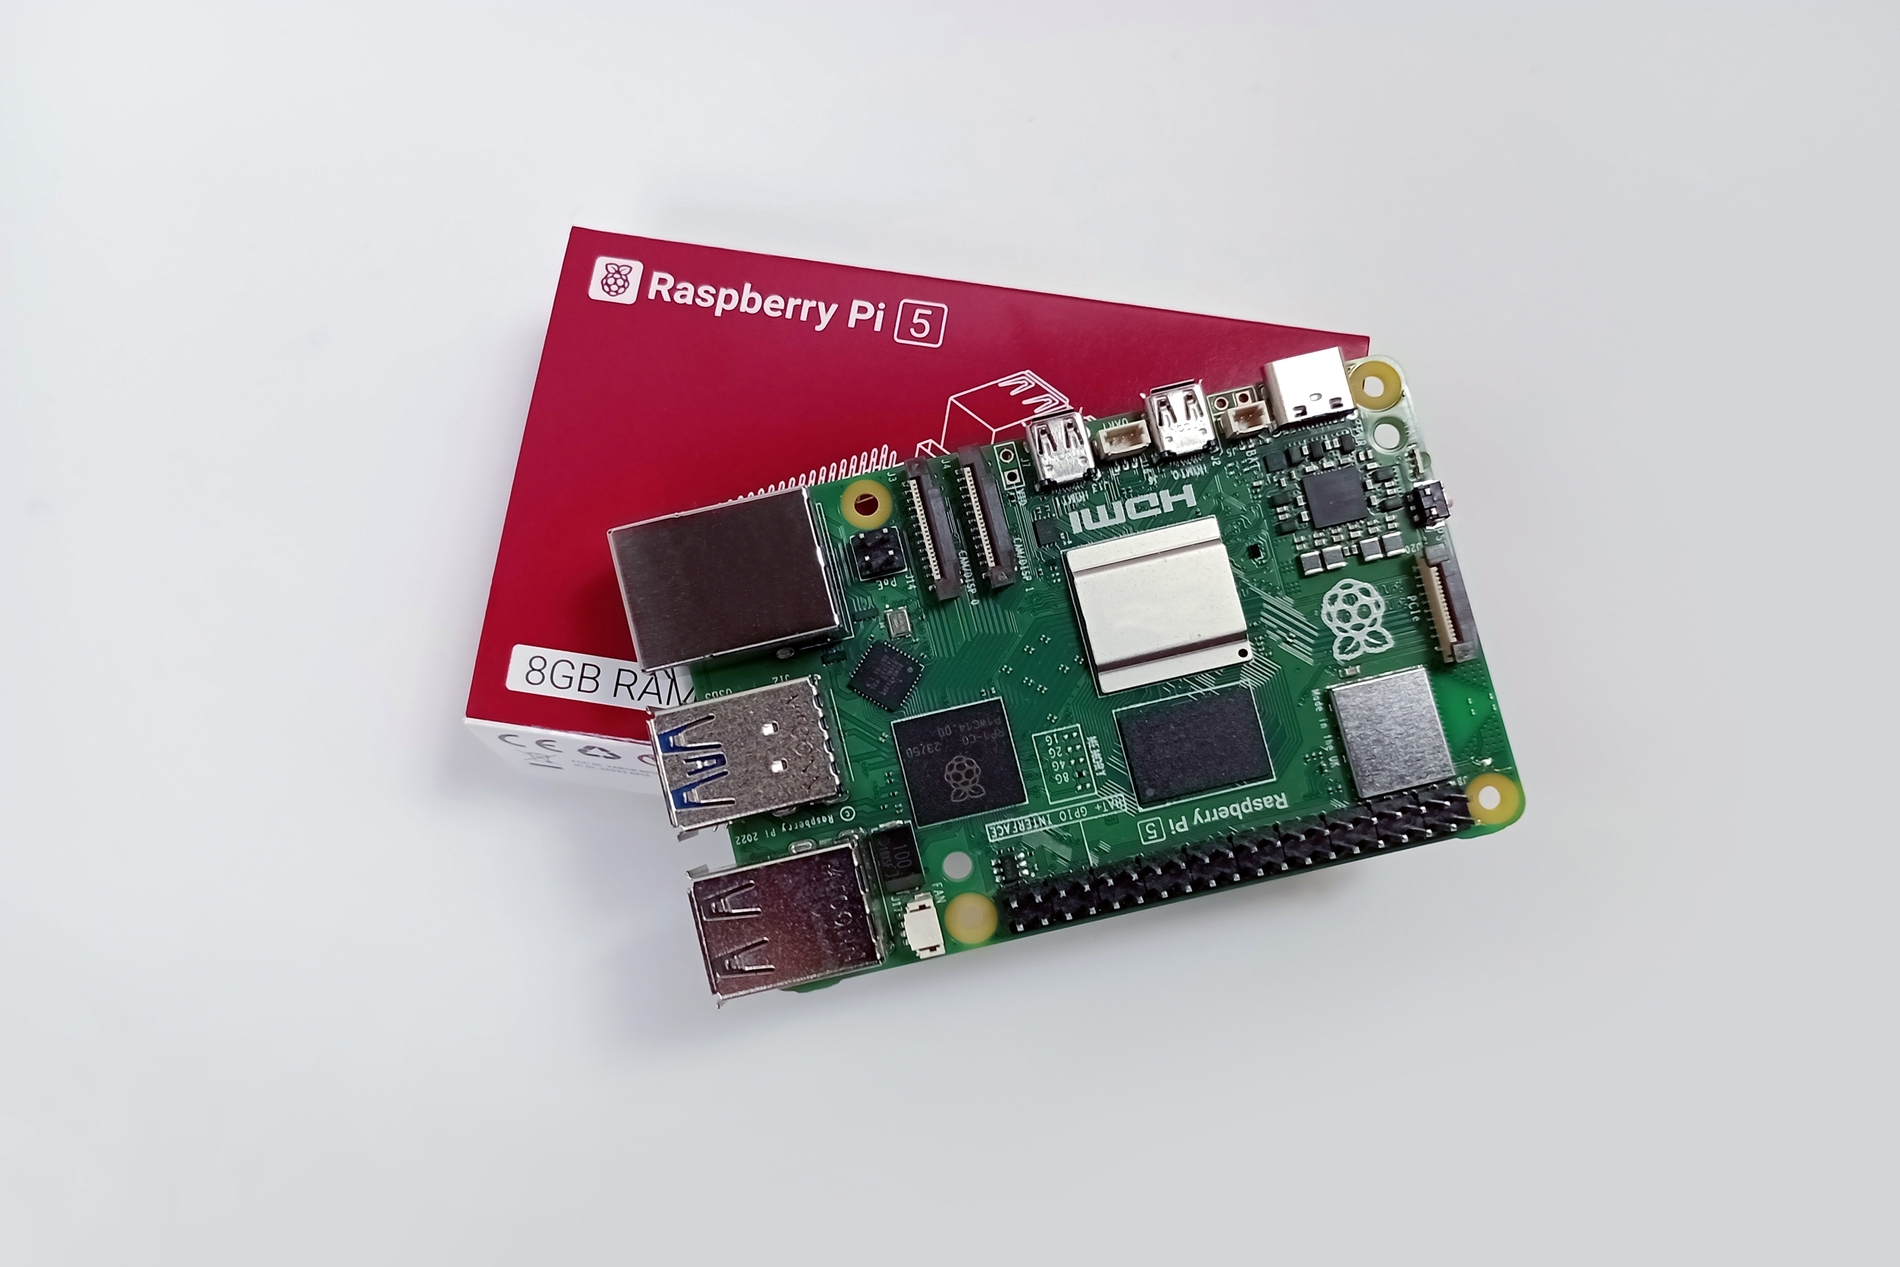
A Raspberry Pi is a small single-board computer about the size of a credit card. It plugs into your TV’s HDMI port and runs Kodi, a free app that lets you stream, play local media, access YouTube, and more.
Here is how you can do it.
What You Need
Hardware
| Item | |
| Raspberry Pi | Pi 4 Model B (2GB) for 1080p or Pi 5 (2GB) for 4K |
| MicroSD card | 32GB, Class 10 or A1 rated (SanDisk is a solid choice) |
| Power supply | Official Raspberry Pi power supply |
| Cable | Micro-HDMI to HDMI cable |
| Case | Any compatible case for your Pi model |
| Keyboard + mouse | Any USB keyboard and mouse |
| Computer | Your existing Windows, Mac, or Linux computer |
Software (All Free)
- Raspberry Pi Imager — the official flashing tool from Raspberry Pi. Download at: raspberrypi.com/software
- LibreELEC 12.2.1 — the OS that runs Kodi 21.3 “Omega”. Available directly through Raspberry Pi Imager or manually from: libreelec.tv/downloads/raspberry
Step-by-Step Installation
Phase 1: Flash LibreELEC Onto Your SD Card
Do this on your regular computer before touching the Raspberry Pi.
- Insert your microSD card into your computer using an SD card reader or adapter.
- Download and install Raspberry Pi Imager from raspberrypi.com/software.
- Open Raspberry Pi Imager.
- Click “Choose Device” and select your Raspberry Pi model (e.g., Raspberry Pi 4).
- Click “Choose OS”, scroll down to “Media Player OS”, click it, then select “LibreELEC”, then pick the version that matches your Pi model (e.g., LibreELEC RPi4 aarch64).
- Click “Choose Storage” and select your microSD card. Double-check that you are selecting the SD card, not your computer’s hard drive.
- Click “Next”, then “Write”.
- The tool will automatically download LibreELEC and write it to your SD card. This takes 5–10 minutes, depending on your internet speed.
- Once you see “Write Successful,” close Raspberry Pi Imager and eject the SD card from your computer.
Phase 2: Connect the Hardware
- Insert the microSD card into the slot on the underside of the Raspberry Pi.
- Connect the micro-HDMI cable from the Pi to your TV. On the Pi 4, use the HDMI0 port (the one closest to the USB-C power port).
- Plug a USB keyboard and mouse into the Pi’s USB ports.
- Turn on your TV and switch to the correct HDMI input.
- Plug the power supply into the Pi’s USB-C port. There is no power button, which means it powers on the moment you plug it in.
Phase 3: First-Boot Setup
- The screen will show LibreELEC starting up. The very first boot takes about 2 minutes as it configures itself. Every boot after that takes around 10 seconds.
- A setup wizard will appear. Follow the on-screen prompts:
- Choose your language.
- Enter your Wi-Fi name and password (or skip this if you are using an Ethernet cable).
- Give your media center a name (anything you like, such as “LivingRoomTV”).
- Click Finish. Kodi launches automatically.
That is it. You are now inside Kodi on your TV.
Using Your Existing TV Remote with Kodi
Most modern TVs support HDMI-CEC, a feature that lets your TV remote send commands to devices connected via HDMI. The Raspberry Pi has full built-in CEC support, which means once you enable it on your TV, your regular remote controls Kodi.
Every TV brand gives HDMI-CEC a different name. Find yours and enable it:
| TV Brand | Feature Name | Where to Find It |
| Samsung | Anynet+ | Settings > General > External Device Manager > Anynet+ (HDMI-CEC) |
| LG | SIMPLINK | Settings > Connection > HDMI Device Settings > SIMPLINK |
| Sony | Bravia Sync | Settings > External Inputs > HDMI Settings > Bravia Sync |
| Philips | EasyLink | Settings > TV Settings > EasyLink |
| Panasonic | VIERA Link | Setup > VIERA Link Settings |
| Hitachi | HDMI-CEC | Settings > HDMI-CEC (listed by name) |
Once enabled, your TV remote’s arrow keys, OK button, and back button will navigate Kodi. Volume and power usually work too.
If your TV does not have CEC, or you want a smartphone as a remote:
- Android: Install the free Kore app from Google Play (the official Kodi remote app).
- iOS/Android: Install the Kodi Remote app.
Both apps connect to Kodi over Wi-Fi automatically once Kodi is on the same network.
Must-Have Add-ons (Free)
Add-ons are the apps of Kodi. To install one, go to Add-ons from the Kodi home screen > Download > Video Add-ons (or Music Add-ons), find the one you want, and click Install.
Official Add-ons Worth Installing:
- YouTube — full YouTube, including search, subscriptions, and history.
- Pluto TV — hundreds of free live TV channels and on-demand movies.
- Twitch — live game and entertainment streams.
- Inputstream Adaptive — required background add-on that enables adaptive bitrate streaming for other services. Install this first.
Netflix does not officially support Kodi. An unofficial workaround exists using a Widevine DRM library and a third-party add-on. Still, it is technically complex, frequently breaks when Netflix updates its app, and requires enabling unofficial sources in Kodi settings. It is not recommended for non-technical users. For Netflix, the easier path is a $20 Fire TV Stick plugged into a second HDMI port on your TV alongside the Pi.
Playing Your Own Movies and Shows
If you have movies, TV shows, or music stored on a USB drive:
- Plug the USB drive into one of the Raspberry Pi’s USB ports.
- In Kodi, go to Movies or TV Shows from the home screen.
- Click Enter Files Section, then Add Videos (or Add Music for music).
- Browse to your USB drive, then select the folder containing your content.
- Kodi will prompt you to select the content type (Movies or TV Shows) and automatically download artwork, descriptions, and ratings for everything.
Total Cost Estimate (as of mid-2026)
| Item | Approximate Cost |
| Raspberry Pi 4 2GB | ~$45 |
| 32GB SanDisk microSD | ~$8–10 |
| Official Pi 4 power supply | ~$12 |
| Micro-HDMI to HDMI cable | ~$8 |
| Basic case | ~$8 |
| Total | ~$80–85 |
Compare that to a budget smart TV that costs $200+ and runs outdated software with no upgrade path. The Pi setup is yours to control, update, and customize permanently.