


























Credit: Shutterstock
A laptop can be plugged in and still receive too little or no power to charge its battery.
When a laptop says it is plugged in, but the battery % doesn’t increase, don’t assume the battery has failed. Modern laptops can intentionally pause charging to protect battery health.
The problem could be a damaged cable, a dirty or loose charging port, a software or firmware issue, a worn battery, or a faulty charger.
Below, we explain the safest and most useful checks/fixes in a logical order for a laptop that is plugged in but not charging. It applies broadly to Windows laptops and MacBooks, although exact menus and diagnostic tools vary by manufacturer.
First, check for a swollen or damaged battery
Stop using the laptop and disconnect it from AC power if you notice the case bulging, the trackpad or keyboard lifting, the laptop no longer sitting flat, or another sign that the battery has inflated. Do not press on, puncture, bend, or attempt to force a swollen battery out of the laptop.
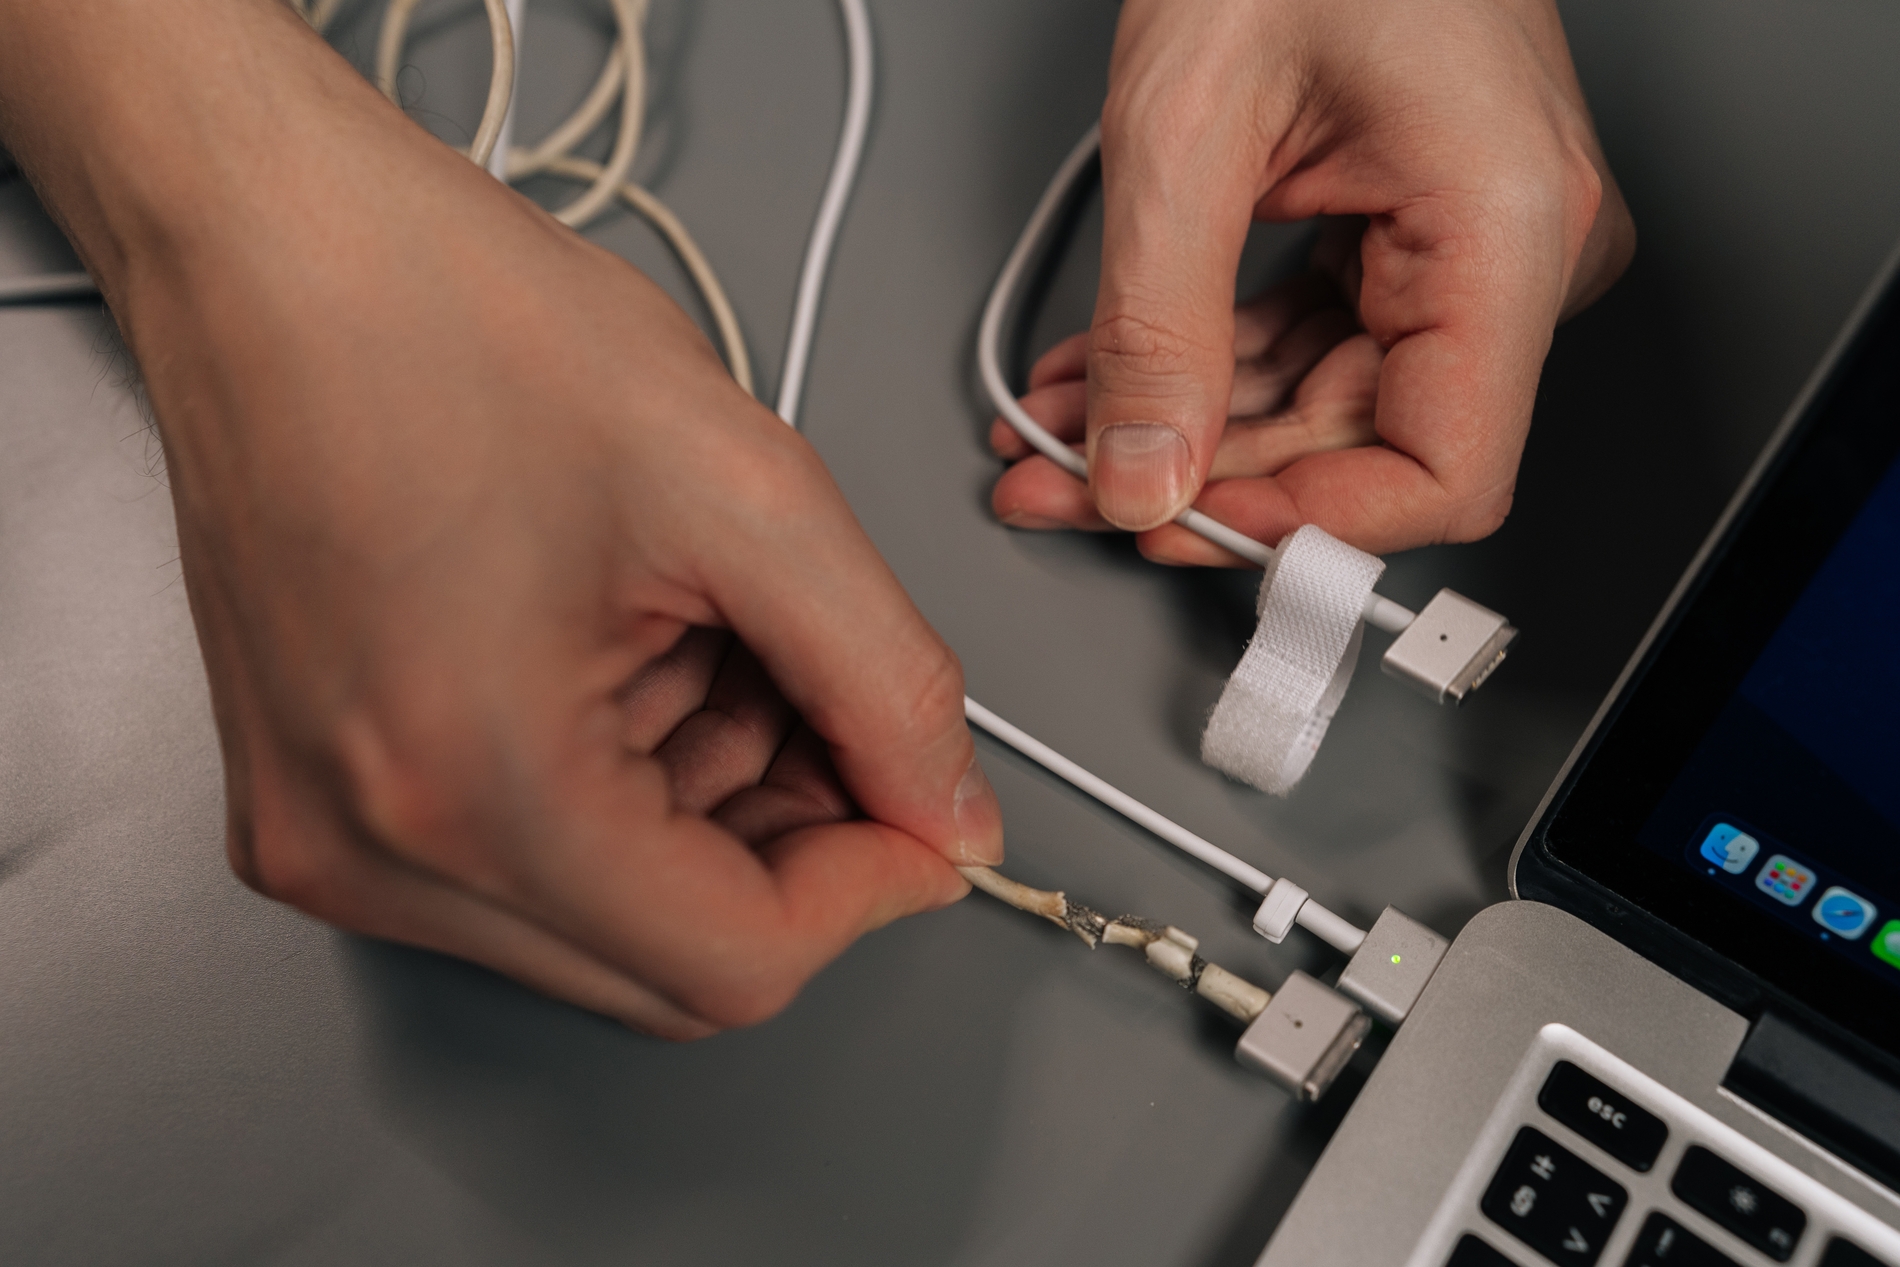
Also, stop using a charger or cable with exposed wiring, severe discoloration, damaged pins, or other obvious physical damage.
If there is no visible damage, continue with the checks below.
1. Make sure the laptop is actually supposed to be charging
A laptop that stops charging before reaching 100% is not necessarily malfunctioning.
Many newer laptops use battery-health features that intentionally limit the maximum charge level. Windows supports manufacturer-controlled Smart Charging, which can keep a battery below 100% when the computer stays plugged in for long periods. A heart symbol can appear on the Windows battery icon when Smart Charging is active.
Manufacturers can also provide their own charge limits. For example, Lenovo says some ThinkPad systems may stop around 55% to 60% when Conservation Mode or a custom charge threshold is enabled. Some Dell systems stop around 80% when Smart Charging is active.
Current versions of macOS can similarly show messages such as Charging On Hold or Charged to [%] Limit when Optimized Battery Charging or a charge limit is being used. Apple provides a Charge to Full Now option when you need a temporary full charge.
What to do
If charging always stops at the same percentage, such as 80%, 90%, or 95%, look for a battery-health, Smart Charging, Conservation Mode, or charge-threshold setting in your laptop manufacturer’s utility, BIOS/UEFI settings, or battery settings.
Temporarily turning off the limit can help confirm whether the charger and battery can still reach a full charge.
If the battery is low and still refuses to charge, continue to the next step.
2. Test the electrical outlet
Unplug the charger and test the wall outlet with a device that you know works. You can also try another wall outlet.
For testing, connect the laptop charger directly to a wall outlet if possible. Temporarily remove docking stations, USB-C hubs, monitor charging connections, extension accessories, and similar equipment from the charging path.
This helps determine whether the laptop, charger, or an intermediate device is causing the problem.
3. Use a charger with the correct power rating
One of the most common causes of slow or failed charging is an underpowered charger.
A charger can sometimes provide enough electricity to keep a laptop running while providing too little power to charge its battery. The battery percentage can even drop while the laptop is plugged in if the computer uses more power than the charger supplies.
What to do
Use the charger that came with the laptop when possible. If you are using a replacement charger, verify that:
- The charger is explicitly compatible with your laptop.
- Its output wattage meets the manufacturer’s requirement.
- The cable can carry the required charging power.
- The charger is connected to a port on the laptop that supports charging.
Don’t assume a charger is suitable just because its plug fits.
4. Check the USB-C charger, cable, and port carefully
Some USB-C ports are mainly for data or external devices and don’t support laptop charging. Likewise, some cables are designed for data transfer and may not support the charging power a laptop requires.
If your laptop has more than one USB-C port, check the manual to confirm which ports support charging, or look for a port with a charging/lightning bolt icon.
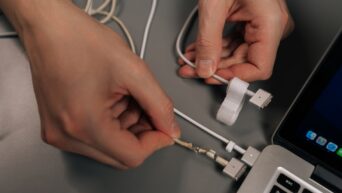
5. Inspect the charger, cable, connector, and charging port
Turn off the laptop and disconnect the charger before inspecting the connections.
Look for:
- Frayed, cut, or sharply kinked cables.
- Bent or damaged connector pins.
- A loose charging connector.
- Dirt or lint inside the charging port.
- Physical damage around the port.
- A connection that only works when the cable is held at a certain angle.
If you can see dust or lint in the charging port, turn off the laptop and gently remove it with a soft, dry brush or short bursts of compressed air. Do not use metal objects, liquids, or force anything deep into the port.
If charging repeatedly starts and stops when you move the plug, the cable, connector, or charging port may need replacement or professional repair.
6. Restart the laptop
On Windows laptops
Start with a normal restart. If that does not help, perform a power reset. The exact procedure varies by model, so follow your laptop manufacturer’s instructions.
A common procedure used by Dell and HP is:
- Shut down the laptop.
- Disconnect the charger.
- Disconnect unnecessary USB devices and other peripherals.
- Press and hold the power button for approximately 15 to 25 seconds.
- Reconnect the charger.
- Turn the laptop on again.
A hard or power reset does not erase files stored on the computer. Do not remove an internal battery unless you are comfortable doing so.
On a MacBook
Apple recommends restarting the Mac first. If charging still fails, shut down the Mac, close the display for about 30 seconds, reopen it, and try again. On an Apple silicon Mac, a normal restart handles the relevant power-management reset. Some Intel-based Macs can also use Apple’s SMC reset procedure.
Do not use Intel SMC reset instructions on an Apple silicon Mac.
7. Let an unusually hot laptop or charger cool down
If the laptop or charger feels unusually hot, stop demanding tasks, place the laptop on a hard, well-ventilated surface, and let it cool.
Apple states that a MacBook may limit charging when recommended battery temperatures are exceeded and that its power adapter can shut itself down if it becomes too hot.
Do not place an operating laptop or charger under bedding, on a pillow, or anywhere else that traps heat.
8. Reinstall the Windows battery device if the hardware appears normal
If you use Windows and the charger and battery appear physically normal, you can sometimes refresh Windows’ battery-management device.
To try it:
- Right-click Start and open Device Manager.
- Expand Batteries.
- Right-click Microsoft ACPI-Compliant Control Method Battery.
- Select Uninstall device.
- Confirm the removal.
- Restart Windows.
Windows should detect the battery again and automatically reinstall the required device.
This step can correct a software or device-detection problem. It will not repair a failed battery, damaged charging port, or underpowered charger.
Mac users should not perform this step because macOS does not use the same Windows battery device.
9. Install relevant operating system and firmware updates
System firmware partly controls charging behavior. Check for normal operating system updates and updates specific to your laptop model, including BIOS or UEFI firmware when appropriate.
Open Windows Update on a Windows laptop or System Settings > General > Software Update on a Mac and install available updates. For Windows laptops, also check your manufacturer’s update app for BIOS or firmware updates, and keep the charger connected while installing them.
10. Check the battery’s health
An older lithium-ion battery gradually loses capacity. Eventually, the battery itself can cause charging or runtime problems.
Check battery health in Windows
Open Command Prompt as administrator and enter: powercfg /batteryreport
Windows will save an HTML report and show its location.
The report will include the battery’s design capacity, estimated current full-charge capacity, recent usage, and charging history.
A battery report is useful evidence, but don’t treat it as a complete hardware diagnostic. A worn battery can have reduced capacity while still charging normally, and a charging-circuit problem can exist even when the reported capacity looks reasonable.
Check battery health on a Mac
Open: Apple menu > System Settings > Battery
Then check Battery Health.
Apple can report the condition as Normal or Service Recommended, depending on the battery’s state. A Service Recommended message doesn’t explain every charging problem, but it is a strong reason to investigate the battery further.
11. Run the laptop manufacturer’s hardware diagnostics
Built-in manufacturer diagnostics are more useful than guessing which component has failed. Depending on the laptop, useful tools are:
- Dell SupportAssist or Dell preboot diagnostics can test battery and hardware condition.
- HP Battery Check can test the battery and provide a failure ID if it finds a hardware problem.
- Lenovo Vantage includes hardware scanning on supported Lenovo computers.
- Apple Diagnostics can test a Mac for internal hardware problems and provide reference codes when it detects an issue.
If it reports a battery, adapter, charging, or system-board failure, save the error or reference code. It can make a repair request much easier.
12. Test with another known-good compatible charger
If the problem remains, testing with another charger can help separate a charger failure from a laptop failure. The second charger must be known to work, compatible with the laptop, and able to provide the required voltage, charging protocol, and power.
If the laptop charges normally with another correctly rated charger, the original charger or cable is probably the problem.
If two known-good compatible chargers produce the same failure, the battery, charging port, firmware, or internal charging circuitry becomes more likely.
Don’t test with a random adapter just because the connector fits.
When the laptop probably needs repair
Professional inspection becomes reasonable when the basic checks have been completed, and one or more of these conditions remain:
- The battery stays at a low percentage even with a known-good, correctly rated charger.
- The laptop only charges when the connector is held at a particular angle.
- The charging port is loose or visibly damaged.
- The laptop reports that no battery is detected.
- The laptop shuts off immediately when the charger is disconnected.
- The manufacturer’s diagnostic test reports a battery or charging-system failure.
- The BIOS or firmware does not recognize a charger that should be compatible.
- The battery is swollen or has physically deformed the laptop.
The bottom line
Start with the simplest fix.
First check whether Smart Charging or another battery-health feature is intentionally limiting the charge. Then verify the outlet, charger wattage, cable, charging port, and USB-C compatibility. Restart the laptop, perform the manufacturer-approved power reset if appropriate, install relevant updates, and run battery diagnostics.
If the laptop still will not charge with a known-good compatible charger, or if the battery isn’t detected, is physically swollen, or fails diagnostic tests, the problem is likely beyond a normal software fix. The laptop manufacturer or a qualified repair provider should inspect it.